After someone has filled in your form and clicked on "Submit" at the bottom, what will happen next?
Definitely, the information submitted will firstly be a Form-Submit in your account. However, what we should care about more is the page/content he or she will see then. That's to say, we need to configure the related behaviors or page content "After Submit", which is the purpose of this article. In MikerCRM, there are two different triggered activities after submit: show a notification page, or redirect to the webpage you specified. Let's go into the two activities one by one.
Show Notification

The notification page can be considered as a simple form page to be designed, where you can show a picture, some words, random-code, button, and disclose all submits.
Show a picture
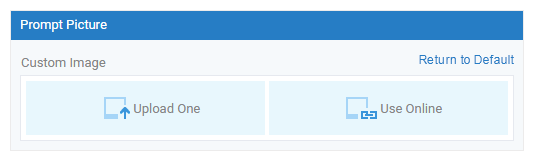
The picture will be placed at the top of the after-submit page. By default, it's a system picture showing the notification for successful Submit. You can uncheck the "Show a picture" to hide the default one, or replace it with another by clicking the picture first and then uploading one at the right panel.
Show some words
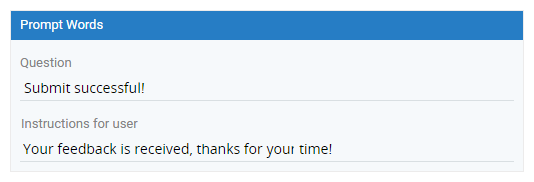
Under the picture, there are prompt words which have two parts: Question and Instructions for user. The method to modify prompt words is the same as that to customize the prompt picture.
You may uncheck the setting to hide the words, or customize them by clicking the default ones in the middle column and adding new ones at the right panel. Currently, the font styles and their alignments are not customizable.
Show random-code

With the "Show Random-code" checked, a unique random code will be generated and displayed after someone has successfully submitted your form. It can be used as a registration number, an order number, a coupon, etc. When a customer shows you the random code, you can search out the form he/she filled easily with the code. That's to say, the random code could be an excellent tool to confirm customers' identity and satisfy various requirements for O2O operations.
Furthermore, you can set the title and the format of the random code. It can be pure numbers or the combination of numbers and letters with 4, 6 or 10 digits. The letters are case-sensitive.
The random code can be applied in many scenarios. Click to see recommended practices.
Tips: if one form has collected huge amount of submits, some random codes generated will have one more digit than you've set to ensure the uniqueness of the code.
Disclose all Submits

You may choose to share the collected Submits with other people by disclosing the statistical diagram and the data details of forms submits. Showing statistical diagram is widely used to display publicly the results of voting or polls, while showing data details can be used to share an internal contact list.
With the setting checked, you can further choose specific questions to be disclosed in the statistical diagrams or the data details. To protect sensitive data details, you may set an independent password by checking the View by Password and entering the password.
Disclosing all submits is a good practice to interact with others. Learn more.
Show Button
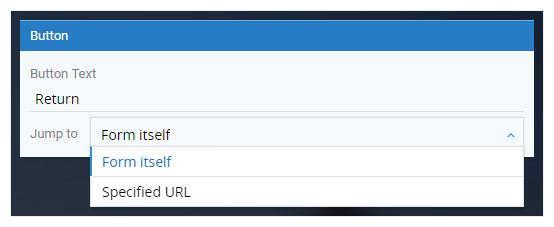
The Return button and the Submit button share the same style settings. You may customize the Return button text and set the triggered action after click as jumping to form itself or to a specified URL.
Tips: if you don't need the button, hide it by unchecking the setting "Show Button".
Redirect to URL

The activity "Redirect to URL" means someone will not see the notification page after he or she has clicked the Submit button, but be redirected to a URL you've specified. For example, you may redirect your customers to your homepage after submitting the form.
Furthermore, you can redirect people to different URL based on the option of a multiple-choice question they have selected. You can only set option-based redirect rules for Radio, Dropdown and Image Radio questions. In this way, people selecting option A will be redirected to URL A while those choosing option B will be redirected to URL B.
Form Design Workflow:
① Header ② Content ③ Appearance ④ After Submit ⑤ Global Settings ⑥ Release